How to install NoMachine #
Why #
For once, I prefer installing NoMachine (not GPL) than vncserver or vino to access remotely to my computer with a GUI. I found the installation of vncserver way too complicated with a lot a manual file edit to have an authenticated (and secure) access (with XDMCP(( XDMCP ))). Installing NX is, on the other end, more than easy.
Server install #
- Download the client, node and serveur at the following URL http://www.nomachine.com/download-package.php?Prod_Id=5
- Install the dependency
apt-get install libaudiofile0
- Installer the 3 packages
dpkg -i nxclient_<Version>_i386.deb
dpkg -i nxnode_<Version>_i386.deb
dpkg -i nxserver_<Version>_i386.deb
- That’s all (easy, isn’t it !)
Client install #
Install NX client #
TODO : add links
Start NX Connection Wizard #
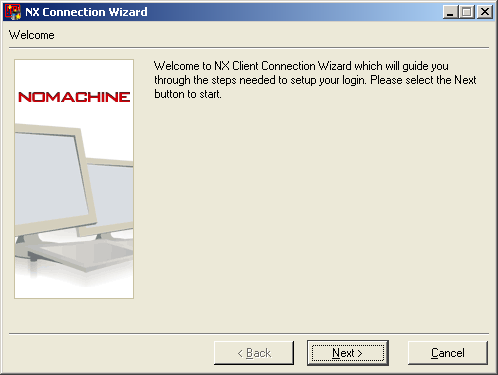
- Click Next
Configure the target server #
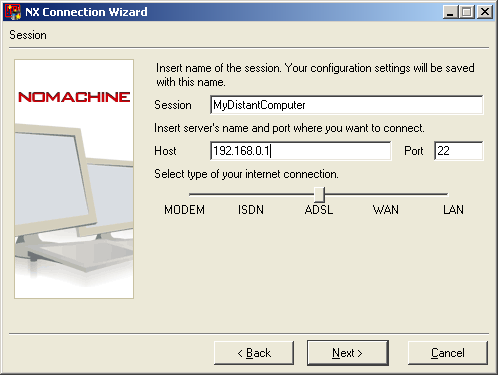
- Session : Name of your remote connection
- Host : remote server name (or IP)
- Choose your connection type to keep good performance
Configure the window manager of the remote server #
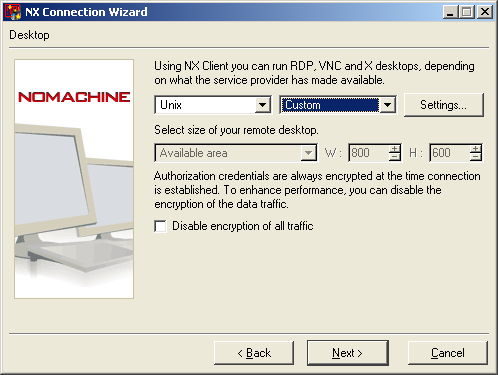
- First drop down list : keep Unix
- Second drop down list : choose Custom (there is no XFCE in the list).
- You can’t yet select the screen resolution, so click Settings
Configure XFCE #
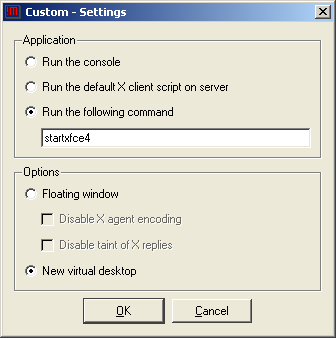
- In “Run the following command” : type startxfce4.
- Choose “New virtual desktop”.
- Click OK
Select your desired resolution #
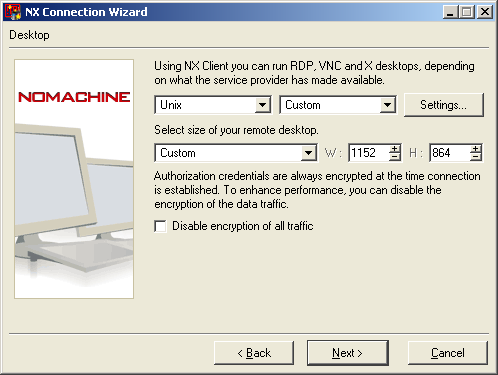
- Choose the resolution you prefer.
- Click Next
End #
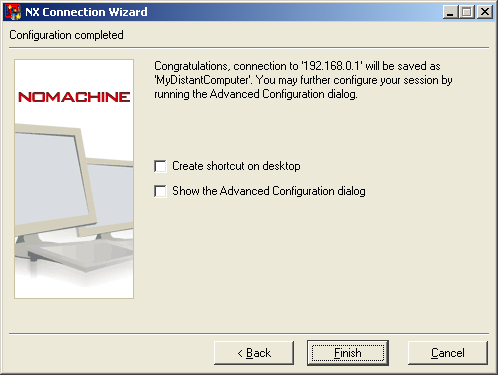
- Click Finish
First test #
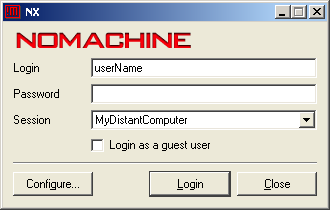
- type your username and your password (like a simple ssh connection) and that’s it !
